Monday, April 11, 2016

Draco Ostium

I belong to the Calgary Long-Arm Quilting Group - not really a guild, but a growing group of people who do long-arm quilting - some for just their own quilts and some who also quilt for others.  We decided to do a wholecloth quilt group entry into the annual Heritage Park Festival of Quilts.  So I signed up and spent a bit of time figuring out what I wanted to do and then how to do it (described at the bottom of the pix).  Here is my resulting contribution to our group entry: Draco Ostium, which is the Latin for Dragon Door.


I didn't want to do a "traditional" wholecloth.  I was thinking dragons - we've been watching too many "period" TV where dragons are featured in tapestries, etc.  I found a black and white clip art illustration, imported it to EQ7, traced it in EQ7 then printed it out to the size I needed.  The thing I like about EQ7 is that once the drawing is done it can be printed to any size and it will automatically tile the printout for 8.5*11" paper. The final size of the wall hanging is 26" * 40".  

That was the "easy" part.  Then I had to figure out how to mark it onto black fabric.  In the end I bought some white "carbon" paper.  Of course it's not actually carbon, but some sort of white chalk.  I used that to trace the design onto the fabric.  Because it was chalk it would not last long once I started working with it so the first thing I did once I had it mounted on the frame was to do one stitch line over the entire design.  That became my outline.  From there I stitched over the outlines 4-5 times in gold.  Then I did the background in "mahogany" Glide thread (which is what I use on almost all of my quilting - it runs really well in my machine).  The background is a variety of micro sized fillers - pebbles, matchstick, and swirls.

I was going for a sort of old leather or wood look and I'm really happy with the  way it turned out!  


Sunday, February 28, 2016

Rainbow Houndstooth

Two more quilts all finished!  

First: Houndstooth.  There are a number of versions of this on the net.  It's a fast, easy, fun quilt to make.  I'll be teaching this at Wonderfil on Mar 8 and 22.  The class will be for new quilters and cover every step of making a quilt from cutting to binding.  


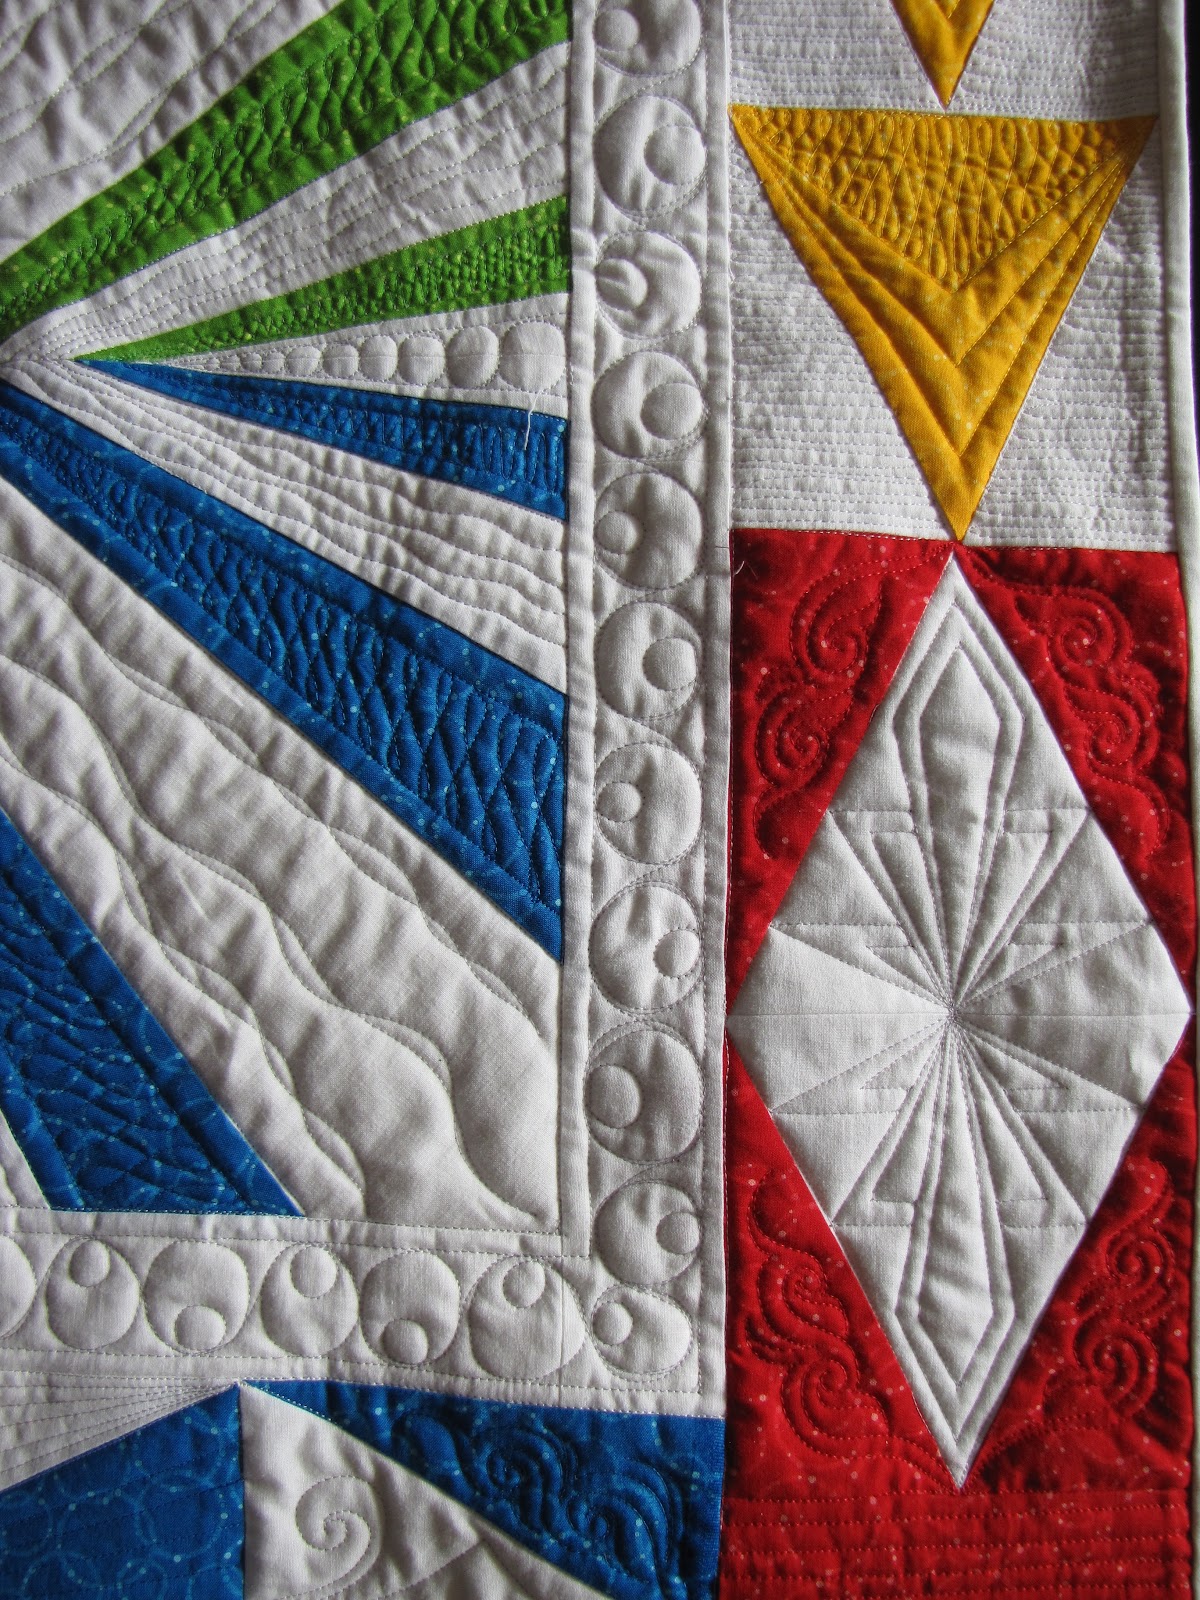
This one is the burst block from Man Quilter.  It popped up in my Facebook feed last year and I liked the look of the block, but didn't like the way he made it.  So I drafted a paper pieced version and here it is!


Getting Caught Up

I was so busy doing customer quilts last year that I hardly had any time to get my own tops quilted.  I took most of December to do a few of my own things so that helped.  But things have slowed down for me since Christmas so I am all caught up with customer quilts and have had time to do more of my own.  Yay!  It feels good to get some of my own things done!


This first one is a little quilt from a book titled Quilting Happiness by Christina Lane and Diane Gilleland.  I have called mine "Chatbot" (a computer program designed to simulate an intelligent conversation with one or more human users) because it reminded me of something digital. 


I belong to the Calgary Modern Quilt Guild.  I love this guild!  Our project for 2015 was to do Patchwork City by Elizabeth Hartman.  The idea was to do 6 blocks/month, which would total 24 of the 25 blocks - so we'd just finish the last one whenever.  I got mine put together in December. I couldn't stand the mound of scraps that had accumulated on my table as it's an entirely scrap quilt (well except for the white).  So I finished it and quilted it.  Mine is the first one done of the group - it won't be the nicest - but it's the first!  :) I've decided it will go to a certain cousin who lives on the Sunshine Coast - which is actually not known for it's sun.


Next up is a quilt designed by Susan Madu of Modern Blended Quilts.  I've quilted three of these quilts already.  One of them is the quilt used on the cover for the pattern and the other two were made by her friend and pattern tester, Armiel.  Susan gave me a copy of her pattern so I figured the least I could do was make it!  :)  This is my version - I added a border to make it a bit bigger. (Thanks for the pattern Susan and thanks Marlow and Joe for "modelling".)

Front:


Back (Ikea fabric):


Friday, January 1, 2016

Happy 2016!

And - snap - just like that!  Another year!  Welcome to 2016 - I hope it brings only good things to you and your special people.

Here are a few things I've been working on in the last couple of months.

These are "one hour baskets" - a free pattern found on Craftsy.  I attend the Calgary Modern Quilt Guild and we decided to do a basket swap so I made up these two, took them to the last meeting and swapped them for two different ones.  They are fun and fast to make - although slower than one hour if you do a bunch of piecing and decorative stitching like I did.


I made my Diva friends each a little sewing kit - let them choose their own because all a little different in terms of embellishments and fabric.  I will have a couple left over so will have to find them homes.


I made a prototype (the top one in the pix below).  This one is more or less the way the tutorial (Fat Quarter Shop - binding kit) has it.  What I found is that the only section I really used was the zippered section on the left.  The centre panel has a little pocket for scissors - completely impractical as they kept falling out, the right side has a larger pocket, which I really didn't think was any more useful than a zippered pocket.  So when I made mine, I did all three panels as zippered pockets - everything can go in a zipped pocket - works like a charm!  


I made these two tree blocks as mini quilts to give to a couple of friends as gifts.  Note that one is bigger even though the same pattern.  I forgot to uncheck "scale to fit" on the printer options and so ended up with a smaller size on the second one.  So lesson learned: always make sure the scale is set to 100% before printing a paper piecing pattern.  This one is one of many found on Craftsy.

Husband needed a little add on to get his order to $25 for free shipping.  I didn't realize you can get quilting supplies on Amazon, but you can - not a lot, but some.  Among them, these little clips.  I ordered 50 for $7.60.  If I were to go to a fabric store, they would be about $1 each.  Crazy!  No wonder the stores are going out of business.  There were only 49 in the bag though - but I'll suck it up.  :)


I made these three "wide open zippered pouch" bags as experiments and to use up fabric - the first one (far right) turned out so well, I made the other two and will make more.  I gave them as Xmas gifts and the ladies love 'em!  The butterfly and cupcake paper piece patterns are free on Craftsy.


And at long last - the Metro Rings (Sew Kind of Wonderful) quilt for Eric and Jess - complete!  They loved it and I'm glad its done!!!!


I made two of these little guys - one is "regular", one "scrappy" to use up the fabric.  I'm really happy with the way they turned out - they will be going to friends - "just because".  


So that gets me pretty well caught up.  Looking forward to another year of quilting fun!